 Save
Save My daughter burst into the kitchen one afternoon with a video on her phone—a cake that exploded with candy when you cut into it. Her eyes were wide, that particular shade of wide that meant she'd already decided this was happening at her Cinco de Mayo party. I watched her scroll through the clip three times, then looked at my mixing bowls and thought, well, why not make some magic happen? What started as a casual weekend project turned into one of those cooking moments where the actual baking mattered less than the pure joy of the reveal.
I'll never forget my son asking if we were making a "regular" cake and then realizing mid-slice that he'd been fooled—in the best way. His little friends went silent for exactly two seconds before chaos broke loose, everyone wanting to know where the candy came from. That's when I understood this cake isn't really about the cake at all; it's about creating a moment people talk about for weeks.
Ingredients
- All-purpose flour: Three cups is your foundation, and sifting it beforehand prevents lumps that'll ruin your beautiful layers.
- Baking powder and baking soda: This combination works together to give you that tender crumb and proper rise; don't skip either one.
- Unsalted butter and granulated sugar: Creaming these together until they look like fluffy clouds is non-negotiable—this is where flavor and texture start.
- Eggs at room temperature: Cold eggs won't blend properly into the batter, so take them out of the fridge while you're doing other prep work.
- Whole milk, room temperature: Just like the eggs, cold milk will shock the batter and mess with your emulsion.
- Gel food coloring: Liquid coloring will thin your batter too much, so gel or paste is the only way to get truly vibrant, distinct colors.
- Assorted small candies: Mini M&Ms, gummy bears, and sprinkles work best because they won't sink or shift around once you've assembled the cake.
- Butter for frosting: Use a full pound and a half softened to room temperature, or your frosting will be grainy and difficult to spread.
- Powdered sugar, sifted: Sifting removes lumps that would make your frosting gritty instead of silky smooth.
Tired of Takeout? 🥡
Get 10 meals you can make faster than delivery arrives. Seriously.
One email. No spam. Unsubscribe anytime.
Instructions
- Get everything ready:
- Preheat your oven to 350°F and grease three 8-inch round pans, then line the bottoms with parchment paper so the cakes slide out cleanly. Having everything in place before you start mixing means you won't be scrambling when the batter's ready to go into the oven.
- Mix your dry ingredients:
- Whisk together the flour, baking powder, baking soda, and salt in a medium bowl, making sure there are no pockets of baking soda hiding at the bottom. This step aerates everything and prevents lumpy streaks in your final batter.
- Cream butter and sugar into fluffy clouds:
- Beat them together for about three minutes until the mixture looks pale and noticeably fluffier than when you started. You'll know it's right when you could almost mistake it for mousse—that's when the eggs will incorporate smoothly.
- Add eggs one at a time:
- Drop in an egg, beat until it's fully incorporated, then add the next one; this process takes longer than dumping them all in at once, but it makes a difference in texture. After all four are in, add the vanilla and beat for another minute.
- Alternate dry and wet ingredients gently:
- Add a third of the flour mixture, then half the milk, then another third of flour, then the remaining milk, then the final flour portion, mixing just until combined after each addition. Overmixing at this stage will develop gluten and make your cake tough instead of tender.
- Divide and color:
- Divide the batter into six bowls and add gel coloring one bowl at a time, using a toothpick to add color gradually so you don't overshoot the shade.
- Stir thoroughly until each color is completely even with no streaks—this is where you see your rainbow coming to life.
- Pour and bake:
- Divide the colored batters between your three pans (or bake in batches if you only have three), smoothing the tops so they bake evenly. Bake for 15 to 18 minutes until a toothpick comes out clean with maybe a few moist crumbs clinging to it.
- Cool properly:
- Let the layers sit in their pans for 10 minutes—this gives them time to set without being too hot to handle—then flip them onto wire racks to cool completely. Trying to assemble a warm cake is a disaster, so really let them reach room temperature.
- Cut the center cavity:
- Use a 3-inch round cutter to cut a hole in the center of four of your six layers, leaving the top and bottom layers whole to act as your container's lid and base. Go slowly and gently so you don't shatter the delicate cake.
- Make your frosting:
- Beat softened butter until it's creamy and pale, then add the sifted powdered sugar a little at a time so you don't create a cloud of sugar dust. Add milk, vanilla, and salt, then beat until the frosting is light and fluffy enough to spread without tearing the cake.
- Stack and fill:
- Place your purple (or first color) whole layer on a serving plate, spread a thin layer of frosting on top, then stack the first cut-out layer and frost it lightly. Continue stacking and frosting, then pour your assorted candies into the cavity created by the cut-out layers, piling them generously.
- Top and finish:
- Place the final whole layer on top of the candy-filled center to create a beautiful seal, then frost the entire outside and top with remaining frosting. Add sprinkles, colored frosting drizzles, or whatever festive decorations match your celebration mood.
- Chill and serve:
- Pop the cake in the fridge for at least 30 minutes so the frosting firms up and the layers set, making slicing cleaner and less likely to crumble. Slice carefully with a sharp, warm knife, wiping between cuts, so everyone sees that candy surprise intact.
 Save
Save There's something magical about the moment before you cut into this cake, when everyone leans in and the room goes quiet because they're waiting to see if the candy really is in there. That anticipation, that tiny spark of doubt that maybe it won't work, and then the relief and joy when it does—that's what this cake is actually about.
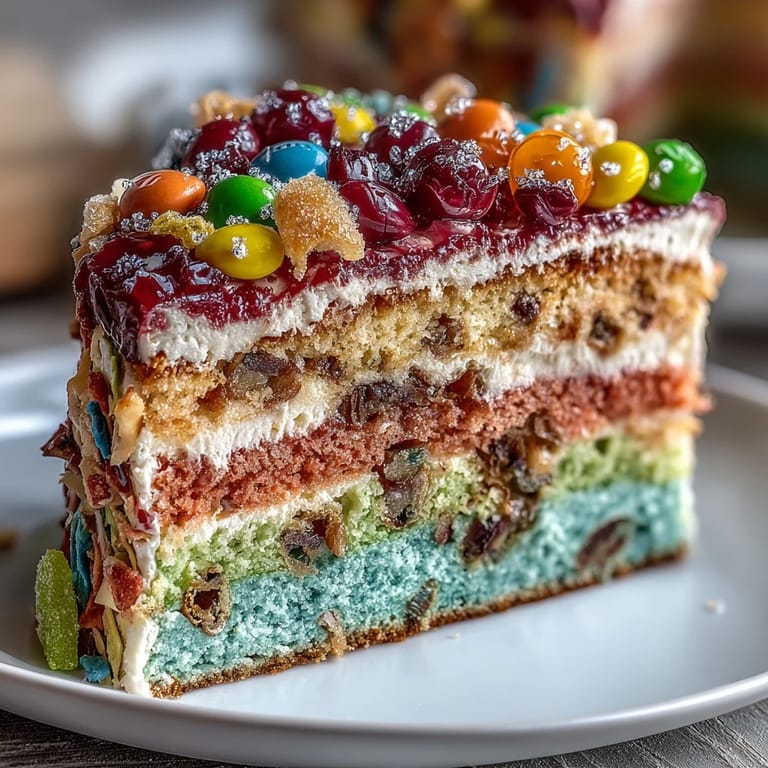
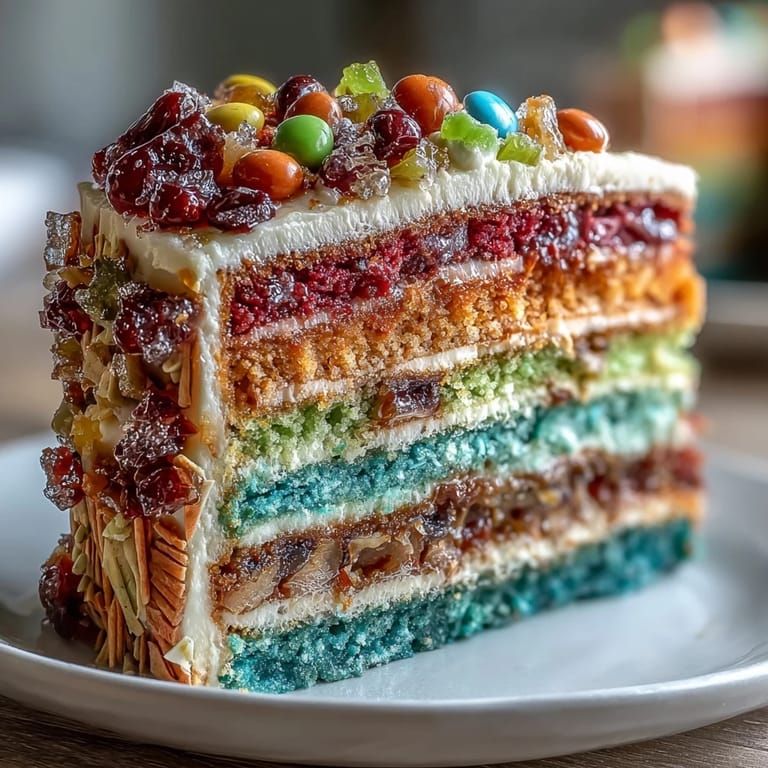
Why Six Layers Instead of Three
Using six colored layers instead of three gives you that stunning rainbow effect when you look at the side of the cake, but more importantly, it creates enough bulk to hold a serious amount of candy in the center cavity. I learned this the hard way my first attempt when I used just three layers and the candy shifted awkwardly, creating gaps. The extra layers also make the cake more stable when stacking and less likely to crack or lean.
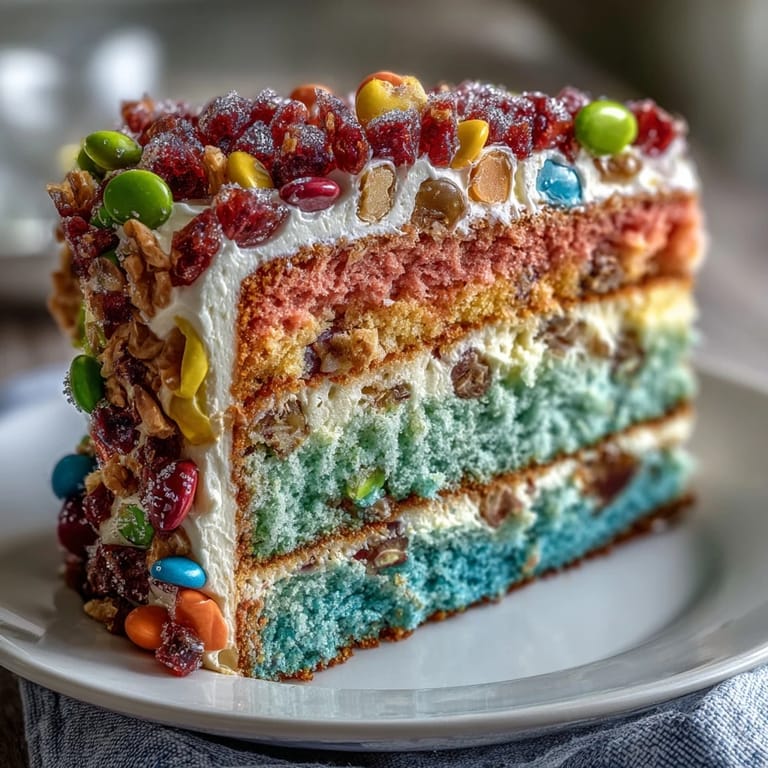
The Piñata Surprise Strategy
The candy you choose matters more than you'd think—avoid anything sticky, super hard, or larger than a pea because those will either melt into the frosting or create awkward lumps. I've learned to mix different textures and sizes so the surprise feels abundant when people cut into it, and I always do a test cut in the kitchen first to make sure the candies are actually visible and not hidden by crumbs. The reveal should feel like an explosion of color, not a sad little pile at the bottom.
Timing, Batching, and Pan Logistics
If you only have three 8-inch pans and need to bake six layers, bake the first three, let them cool for about 15 minutes, then wash and reuse the pans for the second batch—the total baking time adds up, but it's manageable. I've also discovered that prepping my cooling racks ahead of time prevents that frantic moment of searching for space when hot cakes are done. One more thing I've learned: label your pans with a permanent marker showing which color goes in which one, because when you're dividing batter into six bowls, it's easy to forget which shade is which.
- Bake in batches if needed, cleaning and regreasing pans between rounds to maintain consistency.
- Write the color directly on the pan with a dry-erase marker so you won't second-guess yourself.
- Have cooling racks set up and ready before you pull the first layer from the oven.
 Save
Save This cake is a celebration in edible form, the kind of dessert that makes people remember the meal not because it was fancy but because it surprised them. Make it once and you'll understand why everyone asks for it again.
Recipe Questions & Answers
- → How are the colorful layers created?
Batter is divided into six portions, each tinted with a different gel food coloring to achieve vibrant red, orange, yellow, green, blue, and purple layers.
- → What types of candies work best for the filling?
Small candies such as mini M&Ms, rainbow sprinkles, and gummy bears are ideal to avoid heaviness and ease slicing.
- → How should the layers be prepared before assembly?
Four of the six cooled layers are cut with a round cutter to create a cavity for the candy filling, while the remaining two layers remain whole.
- → Can this be made gluten-free?
Yes, by substituting all-purpose flour with an equal amount of gluten-free flour blend suitable for baking.
- → What is the best way to decorate the cake?
The cake is frosted with a buttercream and decorated using additional colored frosting and festive sprinkles or decorations.
- → Should the cake be chilled before serving?
Chilling for about 30 minutes before slicing helps the layers and filling set, ensuring clean slices and neat presentation.