 Save
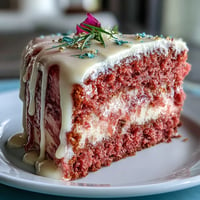
Save As soon as I caught a whiff of strawberry and wine swirling through the air in my kitchen, I knew this cake would become a showstopper. The first time I made it, I accidentally dusted powdered sugar across the counter in my haste, and the light caught the pink batter just right—it looked like spring itself had settled in. Baking this cake is less about fuss and more about the thrill of seeing rosé turn an ordinary sponge into something worth celebrating. My playlist kept ending up on soft jazz, making the whole process feel quietly festive. You don't need a party to enjoy it, but a bridal shower is a very good excuse.
The morning of my cousin&aposs shower, I found myself surrounded by curling ribbons and a kitchen sticky with anticipation—layers cooling on racks, my apron splattered pink, my phone lighting up with bridesmaids asking for sneak peeks. Everyone drifted to the kitchen, drawn by the sweet flourish and hint of rosé in the air. When I finally set the cake on its pedestal, the gold shimmer caught the sunlight and, just for a second, conversation stopped. The group eruptions over each slice proved it, but the best part was the laughter that came as I fumbled with the edible gold paint, a would-be artist earning her stripes. Sometimes, a cake becomes the centerpiece before anyone’s even tasted it.
Ingredients
- All-purpose flour: Gives body and structure to your layers; sifting means a softer crumb.
- Granulated sugar: Lends the finished cake a delicate sweetness that doesn’t overpower the wine.
- Baking soda: Ensures a fluffy, light interior—resist the urge to add extra, or you’ll notice a metallic taste.
- Fine salt: A pinch brings out every other flavor, especially the chocolate and wine.
- Cocoa powder (unsweetened): Just enough to deepen color and flavor, making pink pop instead of looking washed out.
- Vegetable oil: Keeps the sponge moist and tender, even after chilling.
- Large eggs, room temperature: Room temp eggs blend smoothly, avoiding streaks or curdles in your batter.
- Buttermilk, room temperature: Buttermilk gives signature tang—don't skip or your cake loses its character.
- Rosé wine: Our star ingredient—use a good dry or sparkling rosé for a subtle, elegant finish.
- Vanilla extract: Rounds out the floral wine notes without competing for attention.
- White vinegar: Helps brighten the color and ensures your cake bakes up plush and tender.
- Pink or rose gel food coloring: Gel coloring yields the prettiest shade and won’t water down your batter.
- Unsalted butter, room temperature: Soft butter means a creamy, lump-free buttercream that’s easy to spread.
- Powdered sugar, sifted: Avoids gritty frosting—sift it, even if you’re tempted to skip this step.
- Heavy cream: Just a splash to loosen melted white chocolate for perfect drips.
- White chocolate chips: These melt smoother than bars for drip—double check the label for cocoa butter content.
- Edible gold luster dust: The secret to a shimmering finish; make sure it’s edible-grade, never craft glitter.
- Vodka or clear lemon extract: Dries fast, leaving only shine behind—use a light hand with your brush.
- Rose petals or berries (optional): Edible rose petals or sugared berries make for a lush, celebratory topping.
Tired of Takeout? 🥡
Get 10 meals you can make faster than delivery arrives. Seriously.
One email. No spam. Unsubscribe anytime.
Instructions
- Get Set:
- Preheat your oven to 350°F (175°C) and line three 8-inch pans with parchment—you want your cakes to release perfectly.
- Mix Dry Ingredients:
- Sift flour, sugar, baking soda, salt, and cocoa powder in a big bowl so your cake doesn’t turn out lumpy.
- Combine Wet Ingredients:
- In another bowl, whisk together oil, eggs, buttermilk, rosé, vanilla, and vinegar until glossy and smooth.
- Bring Together & Color:
- Pour the wet mix into the dry and gently blend, stopping as soon as it looks incorporated. Swirl in gel coloring—stopping when you see a warm blush shade.
- Bake the Layers:
- Divide the batter evenly, smooth the tops, and slide them into the oven for 30-35 minutes, checking with a toothpick for doneness.
- Cool Off:
- Let cakes rest in their pans for 10 minutes before turning out onto a rack so they don’t tear.
- Make Buttercream:
- Beat the butter until almost white and fluffy, slowly adding powdered sugar. Mix in rosé, vanilla, and a pinch of salt; keep going until it’s silky and cloud-like.
- Build the Cake:
- Level cooled cakes if needed. Stack layers with buttercream between, give it a quick crumb coat, chill, then finish with a generous final swoop of buttercream.
- Gold Drip Magic:
- Gently melt white chocolate and cream together, then let it cool just a little. Pour over the surface so it drips decoratively down the sides; once set, paint on edible gold for drama.
- Final Flourishes:
- Top with more edible gold, fresh berries, or petals. Chill until ready to serve—let the cake come to room temp for flavors to shine.
 Save
Save 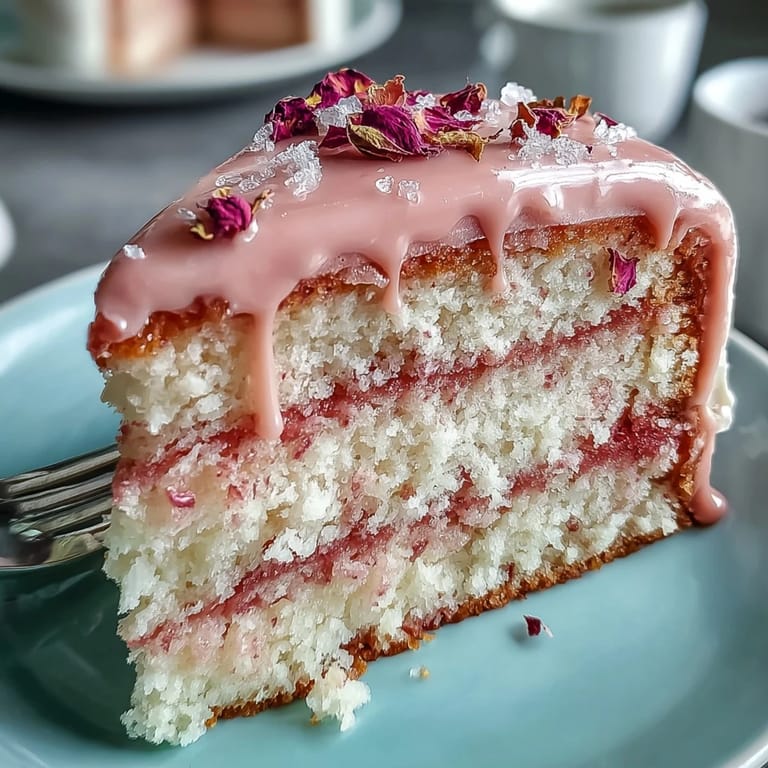 Save
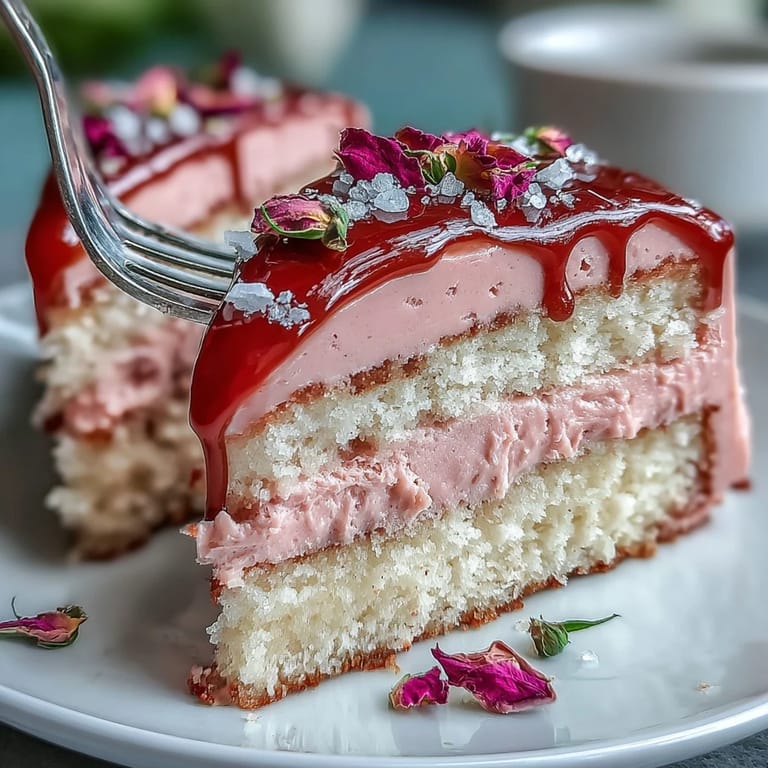
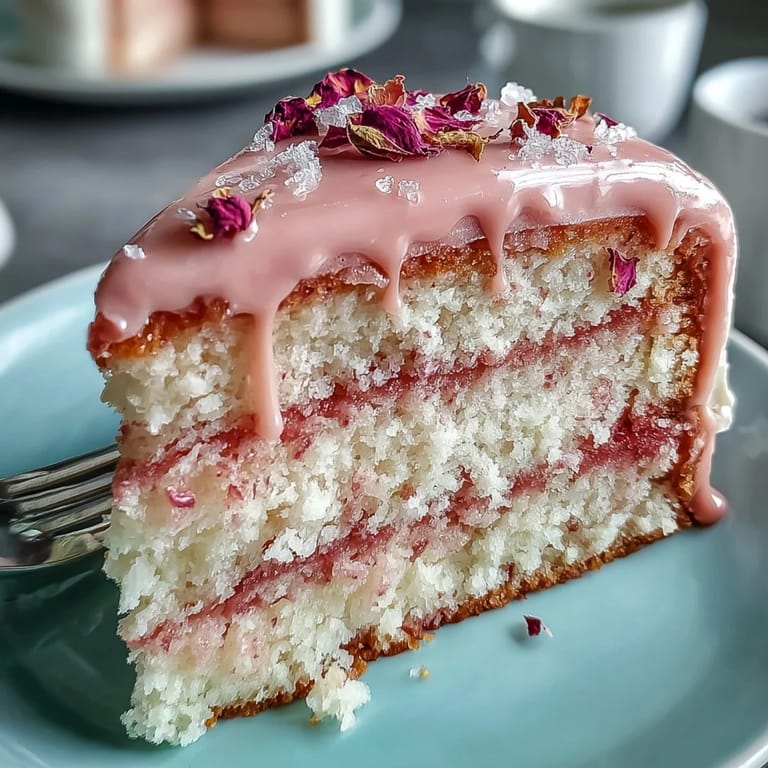
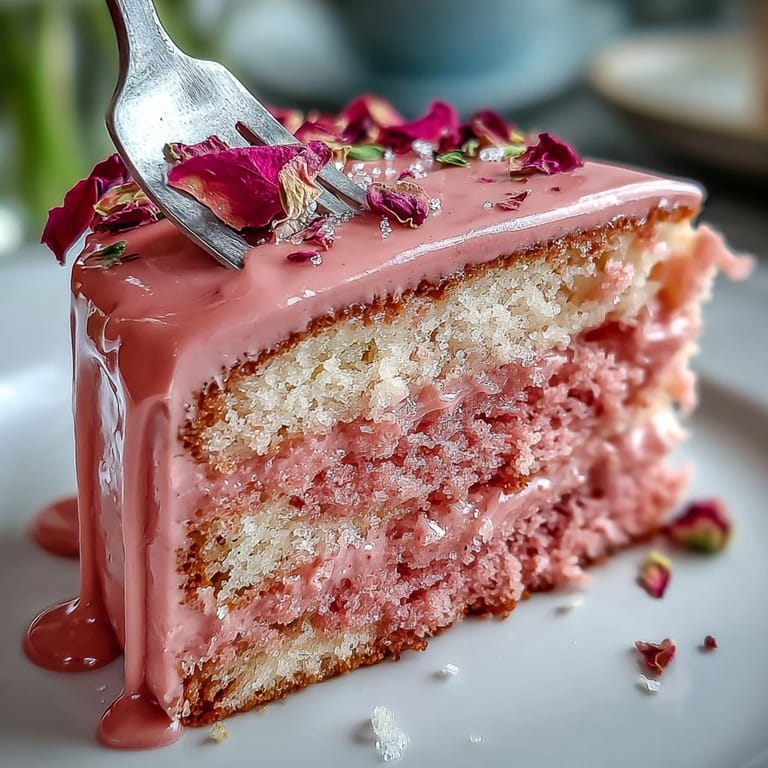
Save The moment the knife glided through all those pink layers, each one frosted in bouquet-scented buttercream and gold-slicked on the outside, the whole table edged closer. We shared extra slices, gleefully comparing which drip looked the fanciest—my cousin even asked for a second helping before gifts. That cake tasted like a hug in the shape of a celebration. In photos, the shimmer gleamed brighter than any champagne glass. Somehow, what started as a recipe turned into a golden memory in itself.
How to Get Dreamy Pink Layers Every Time
Don’t be shy with your gel food coloring, but always build up the color drop by drop—too much, and the shade can look artificial. I once tried to correct a pale batter with an enthusiastic squeeze and ended up with a cake that resembled a summer sunset gone wrong. Stir thoroughly, checking the batter close to a window if possible, to capture the perfect pink. I always taste a small dab on my finger to make sure the rosé comes through gently rather than being lost in sugar. You want the color and the flavor to feel in balance—never garish, always pretty.
Troubleshooting Your Gold Drip
If your white chocolate is too hot, the drips will run off too quickly and pool at the bottom. The trick is to let the mixture sit until just lukewarm before adding it to your cake. Keep your brush strokes gentle when painting on the gold so as not to lift the chocolate underneath. The first time I hurried, the drips got clumpy—patience really does pay off with this step. Dabbing a bit of extra gold on the very tips gives the prettiest sparkle.
Perfect Buttercream and Assembly Hack
Your best bet for super smooth buttercream is to beat room temperature butter at high speed, scraping the bowl often. Measure your powdered sugar after sifting for accuracy, and don’t be afraid to add an extra tablespoon of rosé if the mix feels stiff. Even if you’re short on time, chilling after the crumb coat keeps everything tidy for the final layer. Try using an offset spatula to gently swirl the top—looks effortless but feels ultra luxe.
- Chill your leveled cakes before stacking—this keeps each layer neat.
- If the gold drip thickens, warm it for five seconds in the microwave.
- Slice with a hot, dry knife for photo-worthy servings every time.
 Save
Save 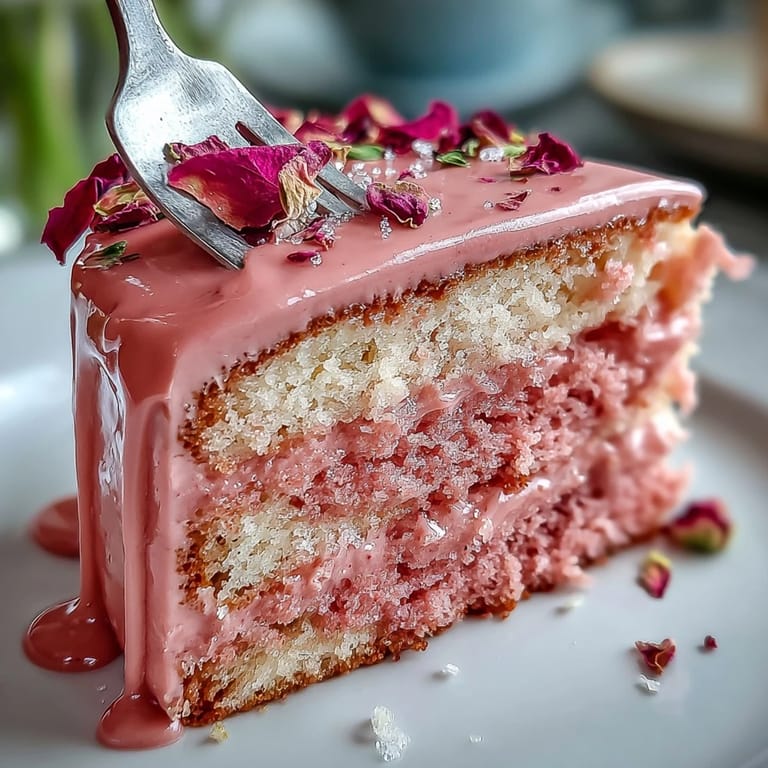 Save
Save No matter whose celebration you’re baking for, this rosé velvet cake turns everyday baking into something and feels truly special. Share it, savor it, and watch gold-dusted crumbs become part of the party story.
Recipe Questions & Answers
- → Can I omit the rosé wine?
Yes. Substitute an equal amount of buttermilk or milk with a splash of white grape juice for a similar acidity and slight fruitiness without alcohol.
- → How do I prevent a runny buttercream?
Beat the butter until light before adding sugar gradually, then add rosé a tablespoon at a time to control consistency. Chill briefly if it becomes too soft and re-whip at low speed to restore structure.
- → What is the best way to get even layers?
Weigh or divide batter evenly between pans, tap out air bubbles, and rotate pans in the oven if needed. Level cooled layers with a serrated knife or cake leveler before stacking.
- → How do I make the gold drip safe and shiny?
Use edible luster dust mixed with a small amount of vodka or clear lemon extract to make a paint, and apply to a cooled white-chocolate drip. Only use products labeled edible; avoid non-food metallics.
- → Can this be made ahead?
Yes. Cake layers and buttercream can be prepared a day ahead. Assemble and chill overnight, then bring to room temperature for 30–60 minutes before serving for the best texture.
- → What tools help with a clean finish?
An offset spatula, bench scraper, chilled crumb coat, and a small food-safe paintbrush for gold details will make smoothing and decorating easier and neater.