Save
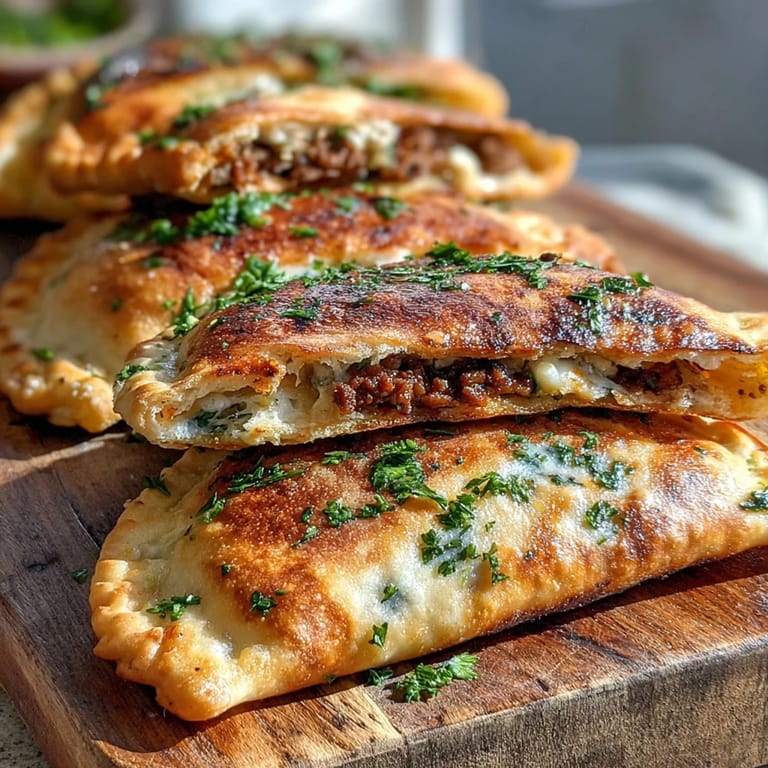
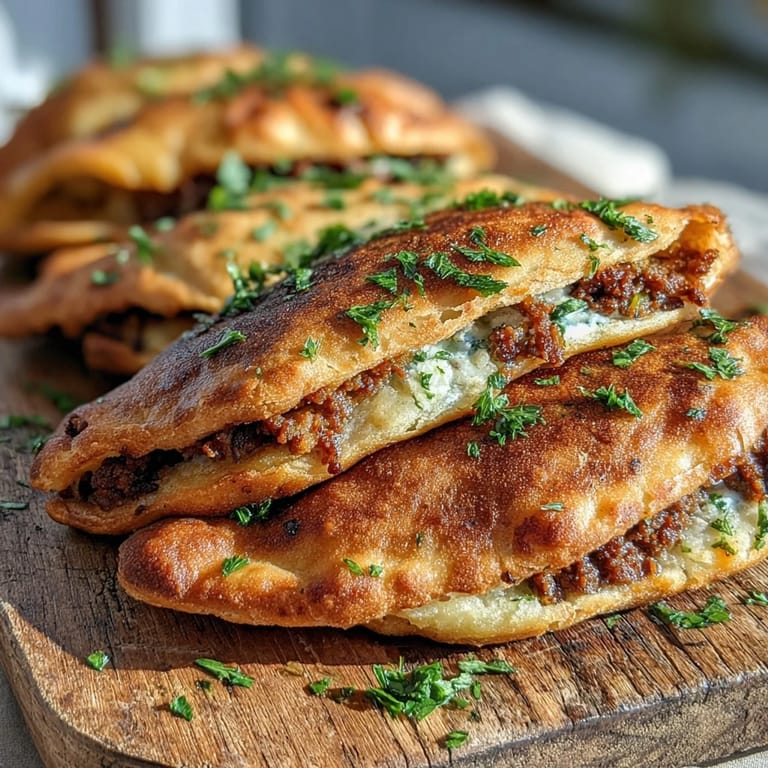
Save The first time I bit into an arayes at a tiny Lebanese spot in Brooklyn, I actually stopped mid-conversation. The pita was shatter-crispy, the inside impossibly juicy, and that warm spice blend of cumin and cinnamon felt like discovering a secret language. I went home and attempted to reverse-engineer it immediately, burning three pitas before I understood that the meat layer needs to be thin, almost translucent. Now they're my go-to when friends come over, because watching someone take that first crackly bite never gets old.
Last summer, I made these for a backyard barbecue and they disappeared faster than anything else on the grill. My friend Sarah, who claims she doesn't like lamb, ate four halves and kept hovering near the platter every time I brought out a new batch. There's something universally comforting about food stuffed inside bread, but the spice combination here makes it feel special and surprising every time.
Ingredients
- 1 lb ground lamb or beef: Lamb gives you that authentic Lebanese flavor but beef works beautifully, or try a mix of both for the best of both worlds
- 1 small onion, finely grated: Grating instead of chopping distributes the onion flavor evenly and keeps the meat mixture tender and moist
- 2 garlic cloves, minced: Fresh garlic is non-negotiable here, it blooms beautifully when the meat hits the heat
- 1/4 cup fresh parsley, finely chopped: Adds brightness and cuts through the richness of the spiced meat
- 1 tsp ground cumin: The backbone of the spice blend, earthy and essential
- 1/2 tsp ground cinnamon: Sounds unusual in a savory dish but it's the secret that makes these taste genuinely Lebanese
- 1/4 tsp ground allspice: Optional but highly recommended, it adds warmth and depth
- 3/4 tsp salt and 1/2 tsp black pepper: Season generously, the pita bread needs the meat to be well seasoned to carry the flavor
- 4 small pita breads: Look for thin, pliable pitas, they crisp up better than thick ones and cook more evenly
- 2 tbsp olive oil or softened butter: For brushing, creates that golden exterior and helps the pita crisp up beautifully
Tired of Takeout? 🥡
Get 10 meals you can make faster than delivery arrives. Seriously.
One email. No spam. Unsubscribe anytime.
Instructions
- Mix the filling with your hands:
- Combine the meat, onion, garlic, parsley, and spices in a large bowl, using your hands to mix everything thoroughly until the spices are evenly distributed throughout.
- Test the seasoning:
- Cook a tiny teaspoon of the mixture in a hot pan, taste it, and adjust the salt or spices before you stuff all the pitas.
- Prep the pitas:
- Cut each pita in half to make semi-circles, then gently open each pocket without tearing through.
- Stuff carefully:
- Spread about 2 tablespoons of the meat mixture inside each pita half, pressing it into a thin, even layer that reaches the edges.
- Brush with oil:
- Mix your olive oil with crushed garlic or sumac if using, then lightly brush both sides of each stuffed pita.
- Choose your cooking method:
- Grill or pan-fry over medium-high heat for 3-4 minutes per side until golden and crispy, or bake at 400°F for 10-12 minutes, flipping halfway through.
- Serve immediately:
- Let them rest for just a minute so the hot steam settles slightly, then serve while they're still shatteringly crisp on the outside.
 Save
Save I've started making double batches and freezing half, then reheating them in a 400°F oven when I need something impressive but don't want to actually cook. My seven-year-old now requests them for school lunch, and I've learned to pack them slightly under-crisped so they soften just enough by lunchtime.
Making Them Your Own
The basic formula is forgiving, so play with spices based on what you love. Sometimes I add a pinch of cardamom or Aleppo pepper for heat. You can also add shredded cheese inside for a melty variation that my kids go crazy for, though I personally prefer them traditional.
Perfect Pairings
A simple garlic yogurt sauce whisked with lemon and salt balances the richness perfectly. Or serve with a bright tomato-cucumber salad dressed with sumac. Pickled vegetables and olives on the side cut through the richness and make it feel like a complete meal.
Cooking Method Secrets
Each cooking method gives slightly different results, so choose based on your mood and equipment. Grilling adds smoky char marks and is ideal for summer, pan-frying creates the most uniform crunch and is fastest, while the oven method yields the most consistent results for large batches.
- Press gently with a spatula when pan-frying to ensure good contact with the heat
- Let the pitas rest on a wire rack after cooking so they stay crisp instead of getting soggy
- Reheat any leftovers in a hot oven, never the microwave, to preserve that signature crunch
 Save
Save These have become my secret weapon for feeding a crowd, because something about food stuffed inside other food makes people unreasonably happy. I hope they become part of your rotation too.
Recipe Questions & Answers
- → What meat works best for arayes?
Ground lamb provides the most authentic flavor, though ground beef or a lamb-beef combination work beautifully. For lighter versions, ground turkey or chicken can be used with extra spices to maintain richness.
- → Why use thin pita bread?
Thin pita bread ensures the meat cooks through completely before the exterior burns. Thicker breads may remain doughy inside while the outside becomes overly crispy. Look for soft, pliable pita that opens easily into pockets.
- → Can I prepare these ahead of time?
Assemble the stuffed pitas up to 4 hours before cooking and refrigerate, covered. Brush with oil just before cooking. Cooked arayes reheat well in a hot oven for 5-8 minutes to restore crispiness.
- → What cooking method yields the best results?
Grilling or pan-frying creates the crispiest exterior with attractive grill marks. The oven method works well for large batches and more hands-off cooking, producing evenly golden results.
- → What should I serve with arayes?
Fresh accompaniments balance the rich spiced meat perfectly. Try garlic yogurt sauce, tzatziki, tomato-cucumber salad, pickled vegetables, olives, or a simple lemon wedge for squeezing over the hot pockets.
- → How do I prevent the meat from falling out?
Press the edges firmly after stuffing and avoid overfilling. A thin, even layer of meat cooks evenly and stays secure. Brushing with oil helps seal the pockets during cooking.