 Save
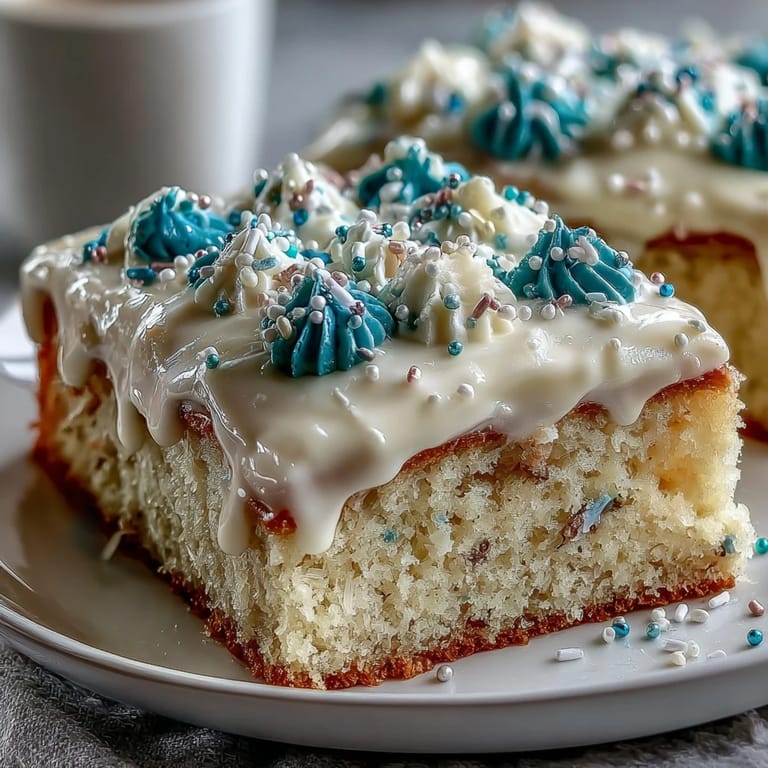
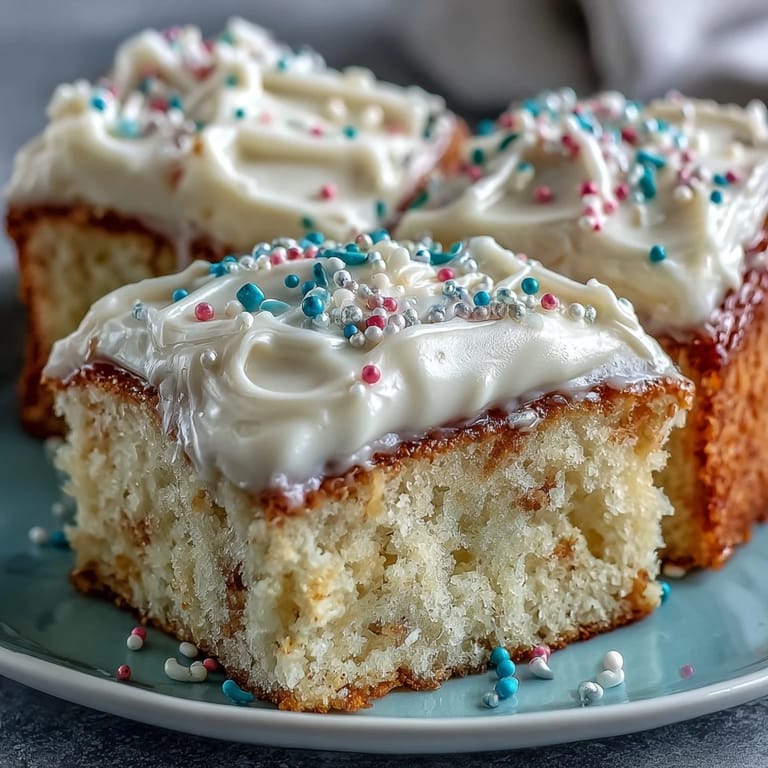
Save The first time I baked a graduation sheet cake, I remember the kitchen buzzing with excitement—music playing, chatter filling the corners, and the sweet scent of vanilla wafting out of the oven. There was something whimsical about being tasked with decorating a cake to celebrate an entire class—especially knowing those simple piped letters would be a snapshot in dozens of photos. While testing buttercream shades for school colors, my hands somehow ended up tinted as blue as the cake itself. It was less about perfection, more about fun—a cake meant for laughter and confetti. Even now, I can almost hear the anticipation as the oven timer dings.
I still recall the year my cousin graduated—a chorus of family clustered around the kitchen island, cheering as I piped out "Class of 2026" in letters that wobbled but never fell. Someone spilled sprinkles and nobody minded; the atmosphere was so festive that every imperfection felt intentional. We joked about who would get the corner slice with extra frosting, and my aunt insisted on licking the spatula. Decorating felt less like a task and more like a fun ritual we all wanted to be part of. Photos captured our frosting-stained fingers and the grin on my cousin's face as the cake took center stage.
Ingredients
- All-purpose flour: Precision matters, so I always sift it to guarantee a light, airy crumb.
- Baking powder: Don't skip this for the lift—freshness counts, so check expiry dates.
- Salt: A subtle touch balances sweetness; use fine salt for easier blending.
- Unsalted butter (room temperature): Soft butter helps the batter whip up fluffy, and it's worth waiting until it's not cold to avoid lumps.
- Granulated sugar: Creaming well unlocks that signature cake texture, so don't rush this step.
- Large eggs (room temperature): They help the batter emulsify, and room temperature ensures even mixing.
- Vanilla extract: Pure vanilla makes the cake sing; I never use imitation for special occasions.
- Whole milk (room temperature): Incorporating slowly keeps the batter smooth—aim for no cold shocks.
- Unsalted butter (frosting): Room temperature brings everything together with creamy consistency.
- Powdered sugar (sifted): Sifting is non-negotiable—it's the secret to no clumps.
- Vanilla extract (frosting): Use for fragrance and warmth in every bite.
- Milk or heavy cream: Adjust to achieve the fluffiest frosting; start slow and add one spoon at a time.
- Food coloring: Gel types deliver vibrant shades without making the frosting runny—a discovery after one watery, pastel disaster.
- Sprinkles, edible glitter, or colored sugar: These add instant sparkle and hide minor piping slips—I keep them on hand for last-minute fix-ups.
Tired of Takeout? 🥡
Get 10 meals you can make faster than delivery arrives. Seriously.
One email. No spam. Unsubscribe anytime.
Instructions
- Prep the Pan:
- Grease and line your 13x18-inch sheet pan with parchment, pressing the corners so the cake won't stick. Carefully smooth the paper so there are no wrinkles.
- Mix Dry Ingredients:
- Whisk flour, baking powder, and salt in a bowl until combined and airy. It feels like prepping for something magical as the baking powder fizzes slightly.
- Cream the Butter and Sugar:
- Beat butter and sugar together for a few minutes—listen to the mixer hum and watch the mixture turn light and fluffy. Don't rush; the texture transforms and sets the cake's foundation.
- Add Eggs and Vanilla:
- Crack in each egg one at a time, beating well and enjoying the satisfying swoosh as the yolks blend. The vanilla brings a rush of warmth right under your nose.
- Combine Wet and Dry:
- Add dry mix in three parts, alternating with milk, stirring gently until just combined. Keep a gentle hand—overmixing steals the cake's softness.
- Bake the Cake:
- Pour the batter into your pan and smooth the top, feeling the anticipation as you slide it into a preheated oven. In about 30–35 minutes, a golden crown and clean toothpick signal victory.
- Cool the Cake:
- Let the cake cool completely on a wire rack, resisting the urge to decorate too soon. The wait makes the buttercream easier to spread.
- Make the Frosting:
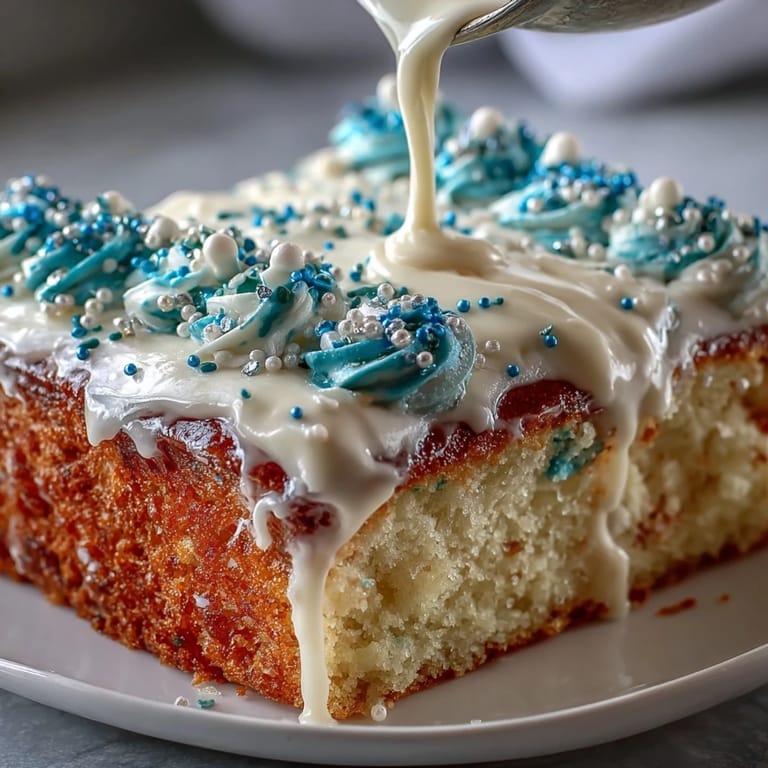
- Beat the butter till creamy, then slowly add powdered sugar for silkiness. Add vanilla and just enough milk or cream for spreadable shine.
- Color and Divide Frosting:
- Split the frosting for base, borders, and piped text—mix colors, testing intensity and laughing at dye-stained fingers. Use gels for bold results without thinning.
- Decorate the Cake:
- Spread a thick layer of frosting, then pipe borders and "Class of 2026" with writing and star tips—embrace imperfect lines and revel in finishing touches of sprinkles or glitter.
- Set Before Serving:
- Chill the cake for 30 minutes to firm up your decorations. It's worth the wait for crisp letters and neat slices.
 Save
Save One graduation party, the cake became a magnet—even guests who claimed cake wasn't their thing lingered for "just a sliver." It became a centerpiece not only for the class but for impromptu stories, hugs, and celebratory photos. Watching people sneak extra pieces was the clearest sign it had become more than dessert, a shared accomplishment and an edible badge of honor.
How to Nail the Decoration
Piping letters always feels like a performance, whether you're aiming for script or block style. Practice on parchment first—the confidence carries over when it's showtime on the cake. Swapping in star tips for borders makes them look festive, even if your hand shakes a bit. I keep a wet paper towel nearby to fix smudges quickly without fuss. It's more about personality than precision—there's always a cheer when someone recognizes the school colors.
Keeping the Cake Fresh
If you make the cake ahead, cover it tightly and refrigerate—it stays plush for four days and the flavors settle in beautifully overnight. Cold storage also protects the vibrant piping from smudging during transport. If serving outdoors, keep it shaded until just before the first slice. Leftovers are perfect for late-night fridge raids, so set aside an extra box. Even after the main event, a little piece brings back festive energy.
Graduate Party Cake Success
Graduation sheet cakes are all about adaptability—I've switched up flavors and colors for different classes, and the formula still shines. It helps to have an extra set of hands in the kitchen, especially when piping names or numbers. Unsweetened cocoa powder makes for a chocolate variation that always gets requests. Keep decorations simple if you're short on time—just sprinkles and bold piping can wow a crowd.
- Refrigerate before slicing for the cleanest cuts and crisp lines.
- Save a little frosting for patching up mistakes after piping.
- Bring the cake back to room temp before serving for best flavor.
 Save
Save Bake, decorate, and celebrate—this sheet cake is as much about the moment as the flavor. Big occasions deserve cakes that invite everyone to share a slice, mess and all.
Recipe Questions & Answers
- → How do I achieve vibrant piping colors?
Use gel food coloring for bold hues without thinning the buttercream. Mix thoroughly for even color distribution.
- → Can I make this cake ahead of time?
Yes, prepare the cake and frost it the day before. Store in the refrigerator covered for freshness and easy serving.
- → What size pan is best for this cake?
A standard 13x18-inch sheet pan provides optimal cake height and enough space for decorative piping.
- → How can I vary the cake flavor?
For a chocolate version, substitute ½ cup of flour with unsweetened cocoa powder in the batter.
- → What tools are needed for piping designs?
Piping bags, writing and star tips, and an offset spatula will help you create detailed borders and lettering.
- → How should leftovers be stored?
Keep leftover cake covered in the refrigerator for up to four days to preserve freshness and texture.