Save
Save There's a particular moment when you first pull a sourdough pizza from the oven and the crust crackles under your fingers—that's when you know the long overnight rise was worth every hour of waiting. I discovered this dough almost by accident, trying to use up starter that had been neglected in my fridge, and somehow it became the foundation for some of my best pizza nights. The combination of natural fermentation and high heat creates something you simply cannot replicate with commercial yeast, a crust that's simultaneously crispy on the outside and tender within.
I'll never forget the first time I served this pizza to friends who were skeptical about homemade dough—they went back for thirds. One of them asked if I'd been secretly trained in Italy, which made me laugh because I was just following my gut and some old sourdough wisdom I'd picked up. That night solidified for me that good food isn't about complexity; it's about patience and respecting what time can do to simple ingredients.
Ingredients
- Bread flour: The higher protein content (usually 12-14%) gives you that chew and structure that all-purpose flour simply can't match; I learned this after one batch turned into flatbread.
- Water: Room temperature water makes mixing easier and keeps the dough from activating too quickly; cold water straight from the tap will slow fermentation unpredictably.
- Active sourdough starter: This is the soul of the dough—it must be bubbly and at peak activity (doubled in size, lots of bubbles visible) or your crust will be dense and won't rise properly.
- Fine sea salt: Don't skip this or use table salt; sea salt dissolves more evenly and doesn't contain anti-caking agents that can muddy your flavor.
- Olive oil: Optional but worth adding if you prefer a softer, more tender crumb; it enriches the dough without overpowering it.
Tired of Takeout? 🥡
Get 10 meals you can make faster than delivery arrives. Seriously.
One email. No spam. Unsubscribe anytime.
Instructions
- Mix flour and water, then rest:
- Combine bread flour and room temperature water in a large bowl and stir until all the dry flour is hydrated and you have a shaggy, sticky mass. This 30-minute rest (called autolyse) allows the flour to fully absorb water and begins gluten development without any effort from you.
- Add starter, salt, and oil:
- Sprinkle the active sourdough starter and salt over the dough, then add olive oil if using, and mix by hand or with a stand mixer until everything is incorporated into a wet, cohesive dough. The dough will still feel sticky and loose—this is correct.
- Build strength with kneading or folds:
- Either knead for 5-7 minutes in a mixer until the dough becomes smooth and elastic, or use the stretch-and-fold method every 30 minutes for 2 hours (4 folds total). With stretch-and-fold, grab one side of the dough, stretch it up and fold it over the center, rotate the bowl 90 degrees, and repeat—this gentler method develops gluten without aggressive kneading.
- First rise at room temperature:
- Cover the bowl and let it sit on your counter for 6-8 hours until the dough has roughly doubled and is visibly bubbly on top. You'll see it puff up and smell that characteristic tangy sourdough aroma—that's the starter doing exactly what it should.
- Divide and shape into balls:
- Turn the dough onto a lightly floured surface and divide it in half with a bench scraper or knife. Shape each half into a tight ball by pulling the edges toward the center and pinching the bottom; tension on the surface helps it rise evenly.
- Second rise or cold ferment:
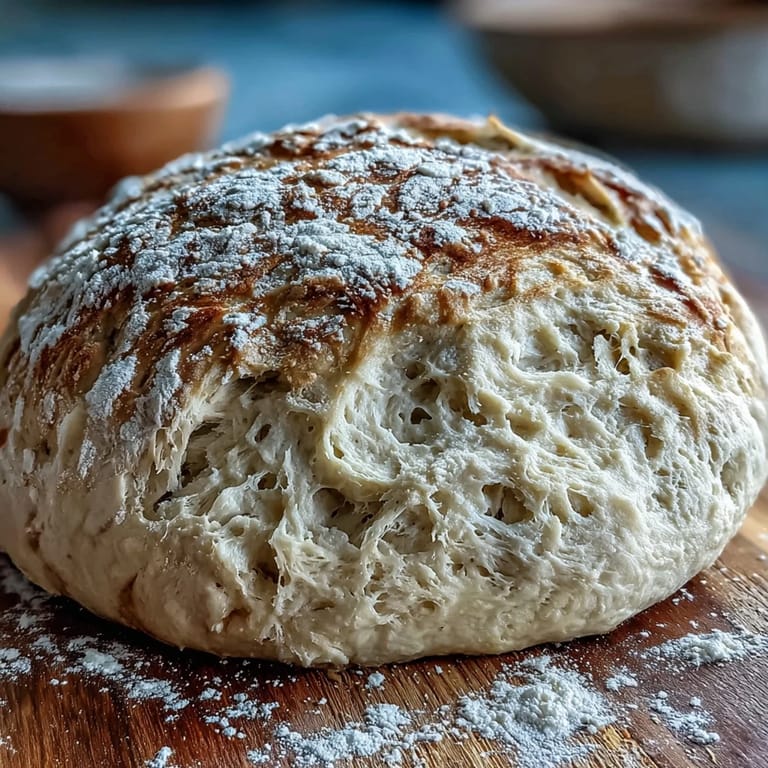
- Place the dough balls on a parchment-lined tray, cover loosely, and let them rest at room temperature for 1-2 hours until they're puffy and hold a gentle indentation when you poke them. Alternatively, cover and refrigerate for up to 24 hours (or even 48 for deeper flavor)—cold fermentation is your secret weapon for restaurant-quality pizza.
- Preheat your oven to maximum heat:
- Place a pizza stone or steel on the lowest rack and crank your oven as high as it will go, ideally 475-500°F (250-260°C), and give it at least 30 minutes to fully preheat. A properly heated stone makes an enormous difference in crust crispiness.
- Stretch and top:
- Gently pick up a dough ball and stretch it into a 12-inch round, working from the center outward and letting gravity help; you want an even thickness with a slightly thicker edge. Top with your favorite toppings, but remember less is more—heavy toppings can make the crust soggy.
- Bake until golden and crisp:
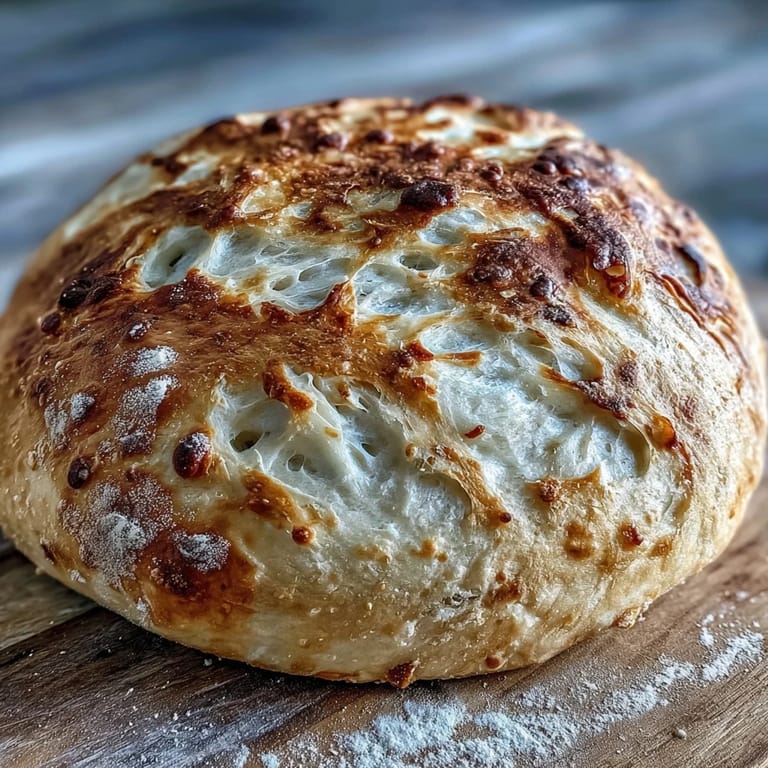
- Transfer the pizza to the hot stone (I use a pizza peel dusted with flour or cornmeal to prevent sticking) and bake for 10-15 minutes until the crust is puffed, deeply golden, and the edges are crispy and slightly charred. You'll know it's done when the bottom sounds hollow when you tap it.
 Save
Save There was one evening when my neighbor stopped by just as I was pulling a pizza out of the oven, and the smell of wood-fired-style crust filled the entire street. He joked that I was trying to make the whole block jealous, and honestly, that's when I realized this isn't just dough—it's an edible invitation to slow down and share something made with genuine care.
The Magic of Long Fermentation
Long fermentation isn't some fancy technique; it's simply time doing what it does best. The sourdough starter produces organic acids that develop flavor complexity, and the extended rise allows enzymes to break down starches and proteins, creating a crust that's both digestible and delicious. I've noticed that dough fermented overnight tastes noticeably better than pizza made with quick-rise yeast, and it feels more alive—there's something satisfying about working with a living culture.
Getting the Crust Right
The real secret to a crispy-outside, chewy-inside crust lies in three things: bread flour with good protein content, a properly preheated stone, and not overloading your toppings. I used to pile everything on my pizzas and wondered why the crust was always soft; now I practice restraint and the difference is night and day. The heat has to travel through the dough quickly, and heavy toppings get in the way of that transformation.
Flexibility for Your Schedule
One of the beauties of sourdough pizza is that it adapts to your life, not the other way around. You can shape the dough in the morning, refrigerate it all day, and bake in the evening—or mix in the evening and bake the next night after work. I've found that the flavor actually deepens the longer it sits in the cold fridge, so cold fermentation is genuinely better, not just convenient.
- For a same-day pizza, the dough needs a solid 6-8 hours at room temperature before shaping and another 1-2 hours after.
- Cold fermenting for 24-48 hours in the fridge gives you flexibility and superior flavor—just pull the dough out about an hour before baking to let it come closer to room temperature.
- If you get distracted or your schedule shifts, the dough is very forgiving; even if it rises a bit more than ideal, it will still make delicious pizza.
 Save
Save Making sourdough pizza at home has become less about proving I can do it and more about the ritual of it—checking the dough, stretching it with my hands, and watching it transform in the heat. Once you taste the difference, you'll understand why people get quietly passionate about pizza dough.
Recipe Questions & Answers
- → What flour works best for this dough?
Bread flour is ideal for structure and chewiness, but all-purpose flour can be used for a softer crust.
- → How long should the dough rise for best results?
Allow the dough to rise at room temperature for 6–8 hours until doubled and bubbly. Cold fermenting up to 48 hours enhances flavor.
- → Can olive oil be omitted from the dough?
Yes, olive oil is optional but adds softness and a subtle richness to the dough.
- → What is the purpose of the stretch-and-fold method?
The stretch-and-fold technique strengthens gluten and improves dough elasticity without intense kneading.
- → How should the oven be prepared for baking?
Preheat the oven with a pizza stone or steel at the highest temperature (475–500°F / 250–260°C) for a crisp, golden crust.
- → How does cold fermentation affect the dough?
Cold fermentation slows yeast activity, allowing complex flavors to develop and improving texture.